


If you are within 30 days of your wedding, you are probably here because you’re supposed to be working on your wedding seating chart. I see you, procrastinating. I’ve been there, friend. There may be a few real reasons to be stressed out at this point in the wedding planning process, but your seating chart shouldn’t be one of them!

Photo by Linda Abbott Photography
Here’s the scoop. Your seating chart can be relatively easy if you follow my guidelines. I’ll talk you through it.
1. Get your master list together.
This is a list of all your guests who are attending. It was super helpful to me at this point to get all the “no’s” off my list. So, do yourself a favor and create a new list. A simple word doc will do, with three columns: Last Name, First Name, Table Number. If you are a Moxie Bright Events client, and you are using Aisle Planner for guest list (that should be 100% of you, lovelies) all you need to do is toggle the top of the “response” column and all of your attending guests will be listed first. Easy peasy. Then, click over to your “seating” tab and get to work!
I know a lot of blogs recommend the Paper-Plate/Post-it method, but that just looks like chaos to me. Too many little pieces of paper to be lost. No thank you!

Photo from Something Turquoise
So much unnecessary work. Don’t do it.
2. Sort your Peeps into Groups.
Now is the time to go old school, and print your master list. Grab yourself a new Sharpie and group your guests into lists of however many people will fit at each of your tables. I like to go with 10 people per group as a good starting point. Some of your groups may be more than 10. Your “family” group may be a few groups of 10. It’s all good.
Are you thinking, how do I group people? Great question! Here are some examples:
- Family. Then create sub-groups. Group each side of the family separately for this one. You probably each have at least two sides, so four in total. We had five, because, step-family.
- Friends. Your sub-groups for this will be plentiful. We had many different friend groups – some sorted by geography (NYC, Philly, Los Angeles), some by interest (theatre nerds), and some by how we knew them (college friends, neighborhood friends, family friends).
- Kids. If you have enough kids of the same relative age group for a kids table, by all means, make it happen.
P.S – If you are a Moxie Bright Events client using Aisle Planner, your guests will likely already be assigned to groups based on your guest list spreadsheet. Aren’t you so glad you’re using Aisle Planner?
3. Know your table sizes.
If you are thinking, “I have no idea how many people will fit at each table, here’s a cheat sheet:

By Moxie Bright Events
Each group of ten people equals one 72″ banquet table. If you know your venue uses 60″ round tables, you should only make groups of eight people each. Yes, it’s technically true that you can squeeze twelve people at a 72″ round table, but it’s not comfortable. Ditto for ten people at a 60″. Really try to avoid it if you can.
4. Place your Groups at tables.
Once you’ve gotten this far, you are almost done! Take each of your groups and give them a table! It’s pretty rare these days to also assign specific seats at the table, so I won’t go into all that. Just think of how lucky you are that you don’t have to do that as well! Right? You are the luckiest!

Photo by Linda Abbott Photography
Here are some awesome guidelines for where to place your peeps in the room:
- Seat your wedding party closest to you, if you can. Especially those who will be giving toasts. But not at a dais table, because it’s not 1978. Let them sit with their peeps, but keep them close.
- Seat your elders at the farthest point from the DJ/Band. Even if they love music, I can assure you they do not love it more than conversation. And more than likely, they are not going to love your music selections. Do them a favor and get them out of the line of the amp.
- Seat your peeps that are most likely to tear up the dance floor closest to the dance floor. Why? Because shy people don’t want to be the only ones up there. Let your naturally gregarious friends and family lead the way to a rockin’ dance floor. Don’t put anything in their way of having a good time!
- If you are having a kids table, seat them in the farthest corner away from the exit. This way, if they try to run out of the room, there are many people to catch them in between their table and the exit.
Also, sandwich your kids table between two tables of adults, preferably family that know the children. This way everyone can keep an eye on them, and still enjoy their dinner. - Any pregnant ladies attending? Try to seat them near a restroom. Or the exit. They will most likely be up and down to the restroom more than most. Be nice to them.
Before you think you’re done…
Check in with family members for any potential family “rifts”. This is a real thing. Check with your parents before you finalize the seating chart. They may catch a family snafu that you didn’t.
5. Update your spreadsheet.
Go back to your new spreadsheet, and fill in that final column. Make sure your math is correct. Double and triple check it. Then, put it away for 24 hours. Then, come back and check it again. You should make two lists. One sorted by your guest’s last name, and one sorted by table number. Your Wedding Planner will give you a big wet kiss for that, I promise.
P.S – Aisle Planner users, you don’t have to do any of this – just drag and drop your guests into each table list, and you’re good to go. Seriously, Aisle Planner for the WIN, always.
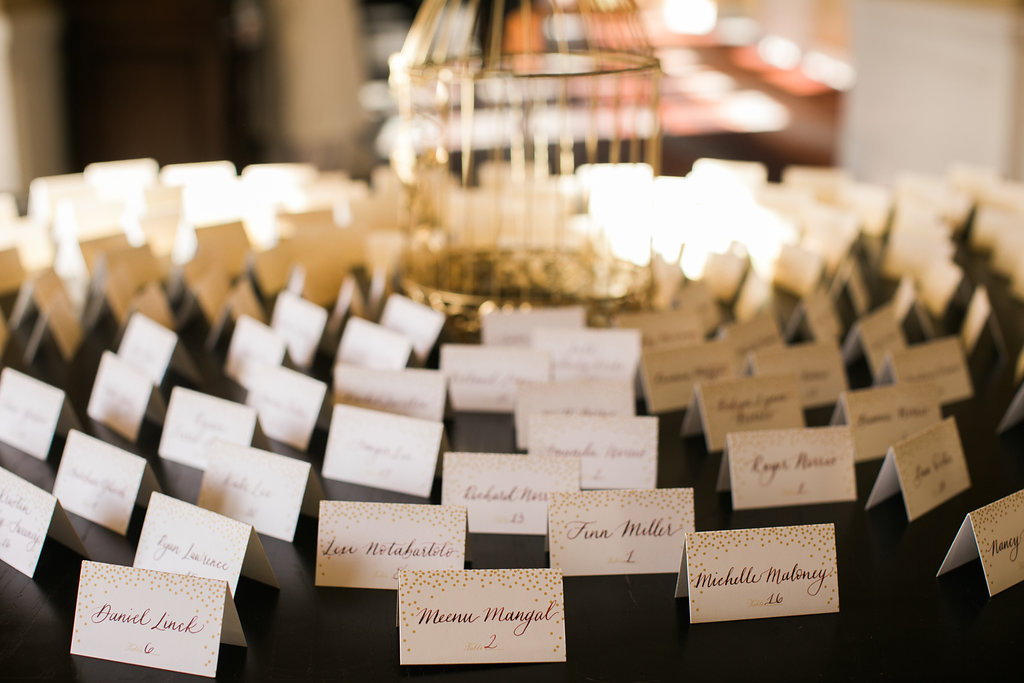
YOU DID IT! Your seating chart is DONE! Now, you are ready to make your escort cards!

Photo by Casey Brodley Photography
For reference, this is what our floorplan looked like:

Sample floorplan for 175 person wedding
Please note: Theatre Nerds is a term of endearment. Seriously. The “names” of the tables were just for my reference, they are not the names of the tables, they are the names of the groupings!
Final Thoughts
Remember: There is no need to stress out about your seating chart. Assigning your guests to a table is a way to make them feel welcomed and taken care of. It’s a home base – a place to leave their phone and their drink, and a seat for dinner. They are not chained to their chairs, and they won’t be there all night. If they don’t care for their seat, it will hopefully encourage them to be social and mingle. Do the best you can for your guests, and then let it go. Seriously. It will all be excellent. I promise.

Jul 1, 2018
